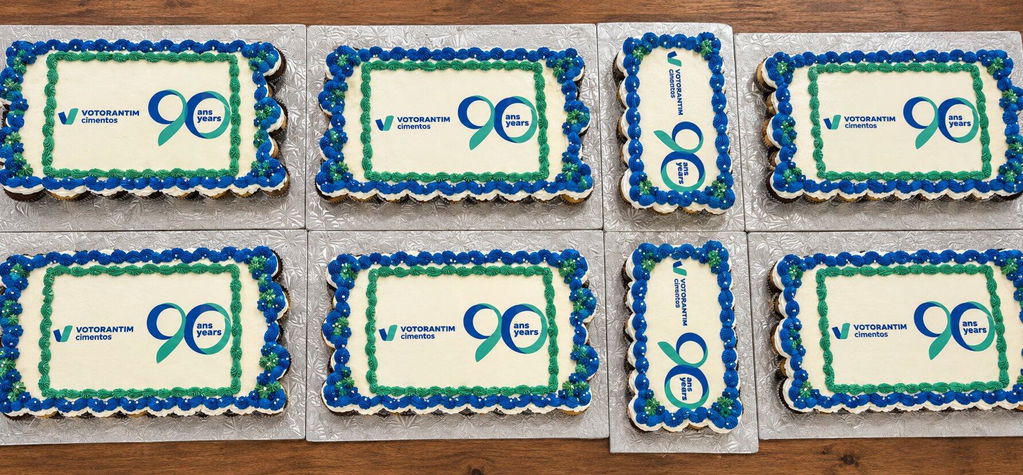
Pre-Cut Cookie Toppers: A Tray-by-Tray Decorating Plan

Plan the tray before you peel. When a cookie order includes several names or messages, pre-cut shapes solve only part of the job. A simple tray map helps each design reach the right cookie—and the right gift box.
1. Give every design a destination
Write a quick list: design, quantity and box or recipient. For an assorted dozen, decide which messages belong together before decorating. Count the cookies and printed pieces against that list while the toppers are still easy to identify on the sheet.
2. Mark the top of each tray
Keep a paper plan beside the food, with an arrow showing which way the lettering should face. For example, one row could hold names and the next matching thank-you messages. Photograph the plan so a helper can follow the same arrangement.
3. Prepare a small batch, then peel
For the icing-sheet option, prepare the cookie’s icing surface first. Our icing-sheet instructions say to remove the plastic backing gently and apply before the frosting sets. On hard royal icing or fondant, use a thin layer of buttercream or piping gel. Peel only the pieces you are ready to place, then smooth gently from the centre outward.
4. Check the box as well as the cookie
Read each finished message upright and tick it off your list before boxing. Keep unused topper sheets sealed, cool, dry and away from sunlight, following the product’s storage guidance. Finished cookies must follow your recipe’s storage and refrigeration requirements.
Tap for the tray-to-box check
- Design counts match the cookie count
- Names and lettering face the planned direction
- Plastic backing removed from every icing topper
- Each assortment matches its recipient list
Choose your custom pre-cut cupcake and cookie toppers, then give each little message a place in the plan.