A Step-by-Step Guide to Applying Icing Sheets on Cakes: Cutting with Regular Scissors
✨ Transform Your Cake with an Icing Sheet ✨
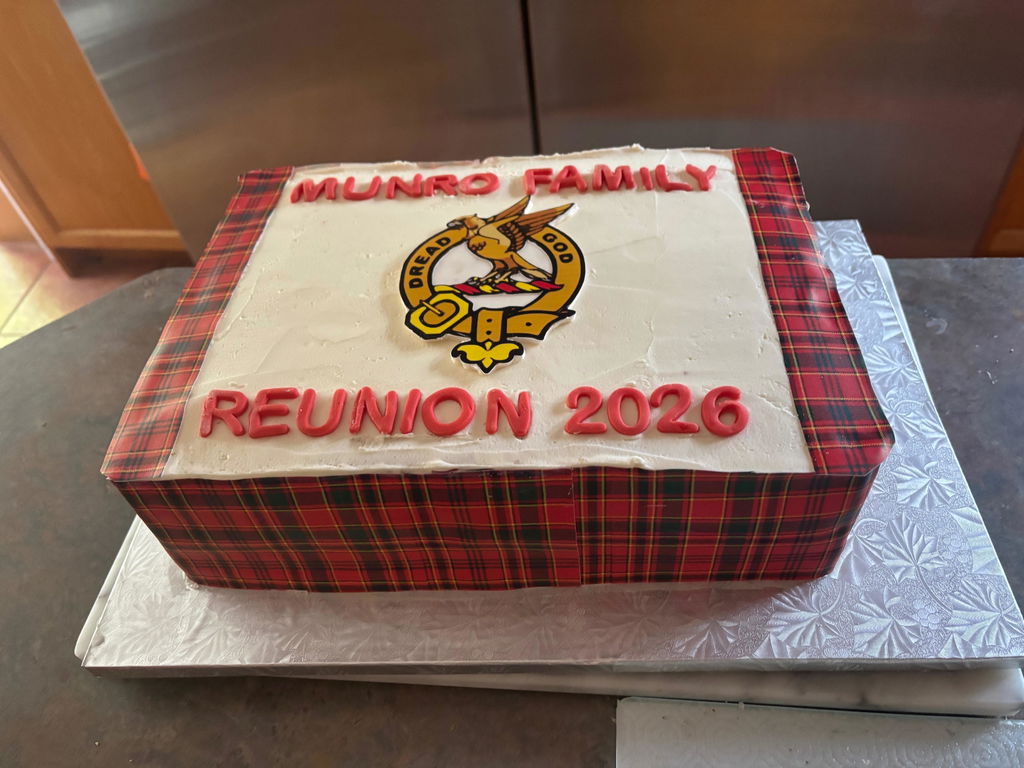
Nothing completes a cake better than a stunning edible design. Whether it’s a birthday, anniversary, or just because – icing sheets make your cake unforgettable. And the best part? You can do it yourself with just regular scissors and a little creativity!
🍰 What Are Icing Sheets?
Think of icing sheets as your canvas made of sugar. They’re thin, flexible, and completely edible – perfect for photos, designs, or text printed with food-safe ink. They look professional yet are easy enough for anyone to use.
🛠 Materials You’ll Need
- ✅ Icing sheet (pre-made or custom printed)
- ✅ Your cake (smooth, frosted, and ready)
- ✅ Regular scissors
- ✅ Optional: Buttercream or edible glue
📖 Step-by-Step: How to Apply an Icing Sheet
1. Prepare the Icing Sheet
Carefully peel off the plastic backing. Lay the sheet printed-side up on a flat surface.
2. Prepare Your Cake
Make sure the surface is smooth. Add a thin layer of buttercream if needed to help it stick.
3. Position the Sheet
Lift gently with both hands and place it on the cake. Center it carefully.
4. Smooth It Out
Start from the middle and smooth outwards, pressing out air bubbles as you go.
5. Trim the Edges
Use scissors to trim any extra sheet hanging over the cake’s edges.
6. Add Final Touches
Check for clean edges. Adjust gently if needed and admire your masterpiece.
🎉 Conclusion
Decorating with icing sheets isn’t just easy – it’s magical. With some scissors, patience, and creativity, you’ll turn any cake into a personalized showstopper. Impress your family, friends, or clients with edible art that’s both delicious and unforgettable.
👉 Ready to try it? Order your custom icing sheets here today!